As more of us continue to work from home in the wake of the coronavirus pandemic - whether that involves setting up a home office, or working remotely from time to time - the importance of an optimal and fit-for-purpose Wi-Fi network has never been more pressing.
Beyond this, you may have had to increase the internet capacity of your small office, or even start offering web access to your customers and/or visitors.
For most of us, we won’t be using the latest hardware, relying instead on legacy modems and routers, usually in a box that’s at least 12 months old, and that don’t support the latest Wi-Fi standards. And as a result, we’re not taking advantage of the huge leaps that have been made in wireless technology over the last two years and beyond, with 96% of BT customers saying they’d never upgraded their router in a recent Which! survey.
So there’s a good chance that your supplied modem/router doesn’t support Wi-Fi 5, let alone Wi-Fi 6, which includes better speeds; improved device management, which is critical as we run more and more devices though the same network; better security; improved power controls; and even gives you the ability to beamform, which means you can focus a signal in a specific direction for better reach.
The benefits outlined above make investing in new networking kit something that anyone serious about their connectivity should consider. And what if you require Wi-Fi in places where you didn’t before, such as garden offices, lost spaces, or anywhere else that has become a working space? In these scenarios, rather than multiple access points, what many SMEs and home workers are now turning to is mesh networking.
- These are the best Wi-Fi 6 routers you can buy today
Why go with a mesh network?
To date, most of us have accessed Wi-Fi via a static access point, with connection quality deteriorating as you move further from the access point. But what mesh networking does is enable you to piggyback from one mesh device to another, so if you have a Wi-Fi ‘deadzone’ in your premises, you can simply add in a new mesh device to get it connected. And, by separating your Wi-Fi topology, you can have more flexibility over how you expand your network, without a single point of failure.
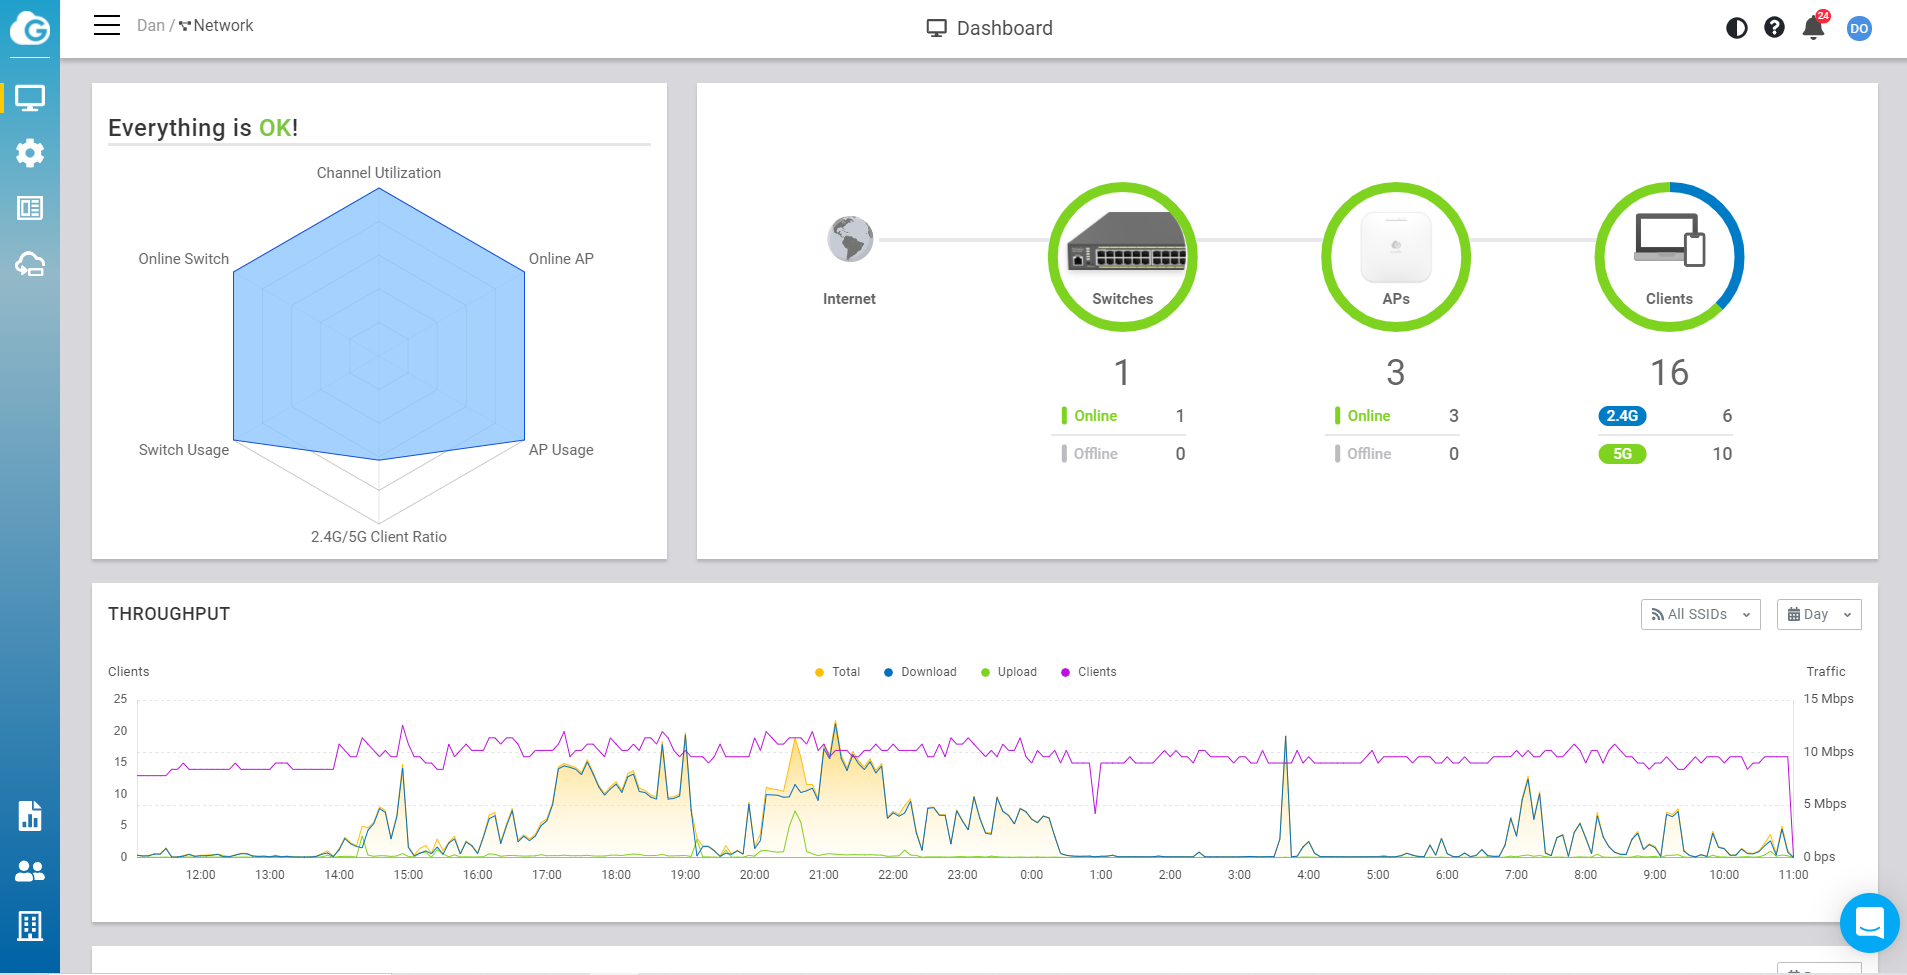
In our test we set up three access points (AP): one was connected via Ethernet to our switch (making it the primary AP), with two more being added into our mesh system, which can be expanded up to 255 devices, theoretically (four or five being more realistic).
Choosing your kit
There are a number of mesh products out there that provide the required functionality, but for this post we’ve selected products from Engenius to showcase the improvements that can be made. There are a number of reasons for us opting for products for Engenius, such as its cloud-based API for controlling and monitoring connected devices, its support for WiFi-6, the option to install firmware updates remotely, and the ease of expanding your network (you simply scan in a QR code on the back of the device to attach the device to your network). The Engenius range also enables you to allocate functionality such as ‘captive portal’, which means you can create log-in pages, as you might see in an airport or mall (and you can even block and kick specific clients).
This overview explains some of the reasons for going with Engenius:
However, for a more basic home installation, you may also want to look at Ubiquiti’s product range, which, although boasting fewer cloud maintenance options and features, is equally easy to set up, and is also competitively priced.
Topology explained
Topology, when referring to networking, is essentially a way of describing and illustrating the constituent parts of your network. For most people, this isn’t difficult, because every function is controlled by a single box: modem, routing, and wireless delivery. However, this can pose a number of problems. Obviously, with a single box, you also have a single point of failure. But beyond that, you are most likely running outdated software, whilst getting a sub-optimal performance.

For our explainer, we’ve put our modem into modem/routing mode, and have switched off its wireless functionality. This means that our IP numbers are still being allocated by our original box, via DHCP, but beyond that we are introducing standalone products.

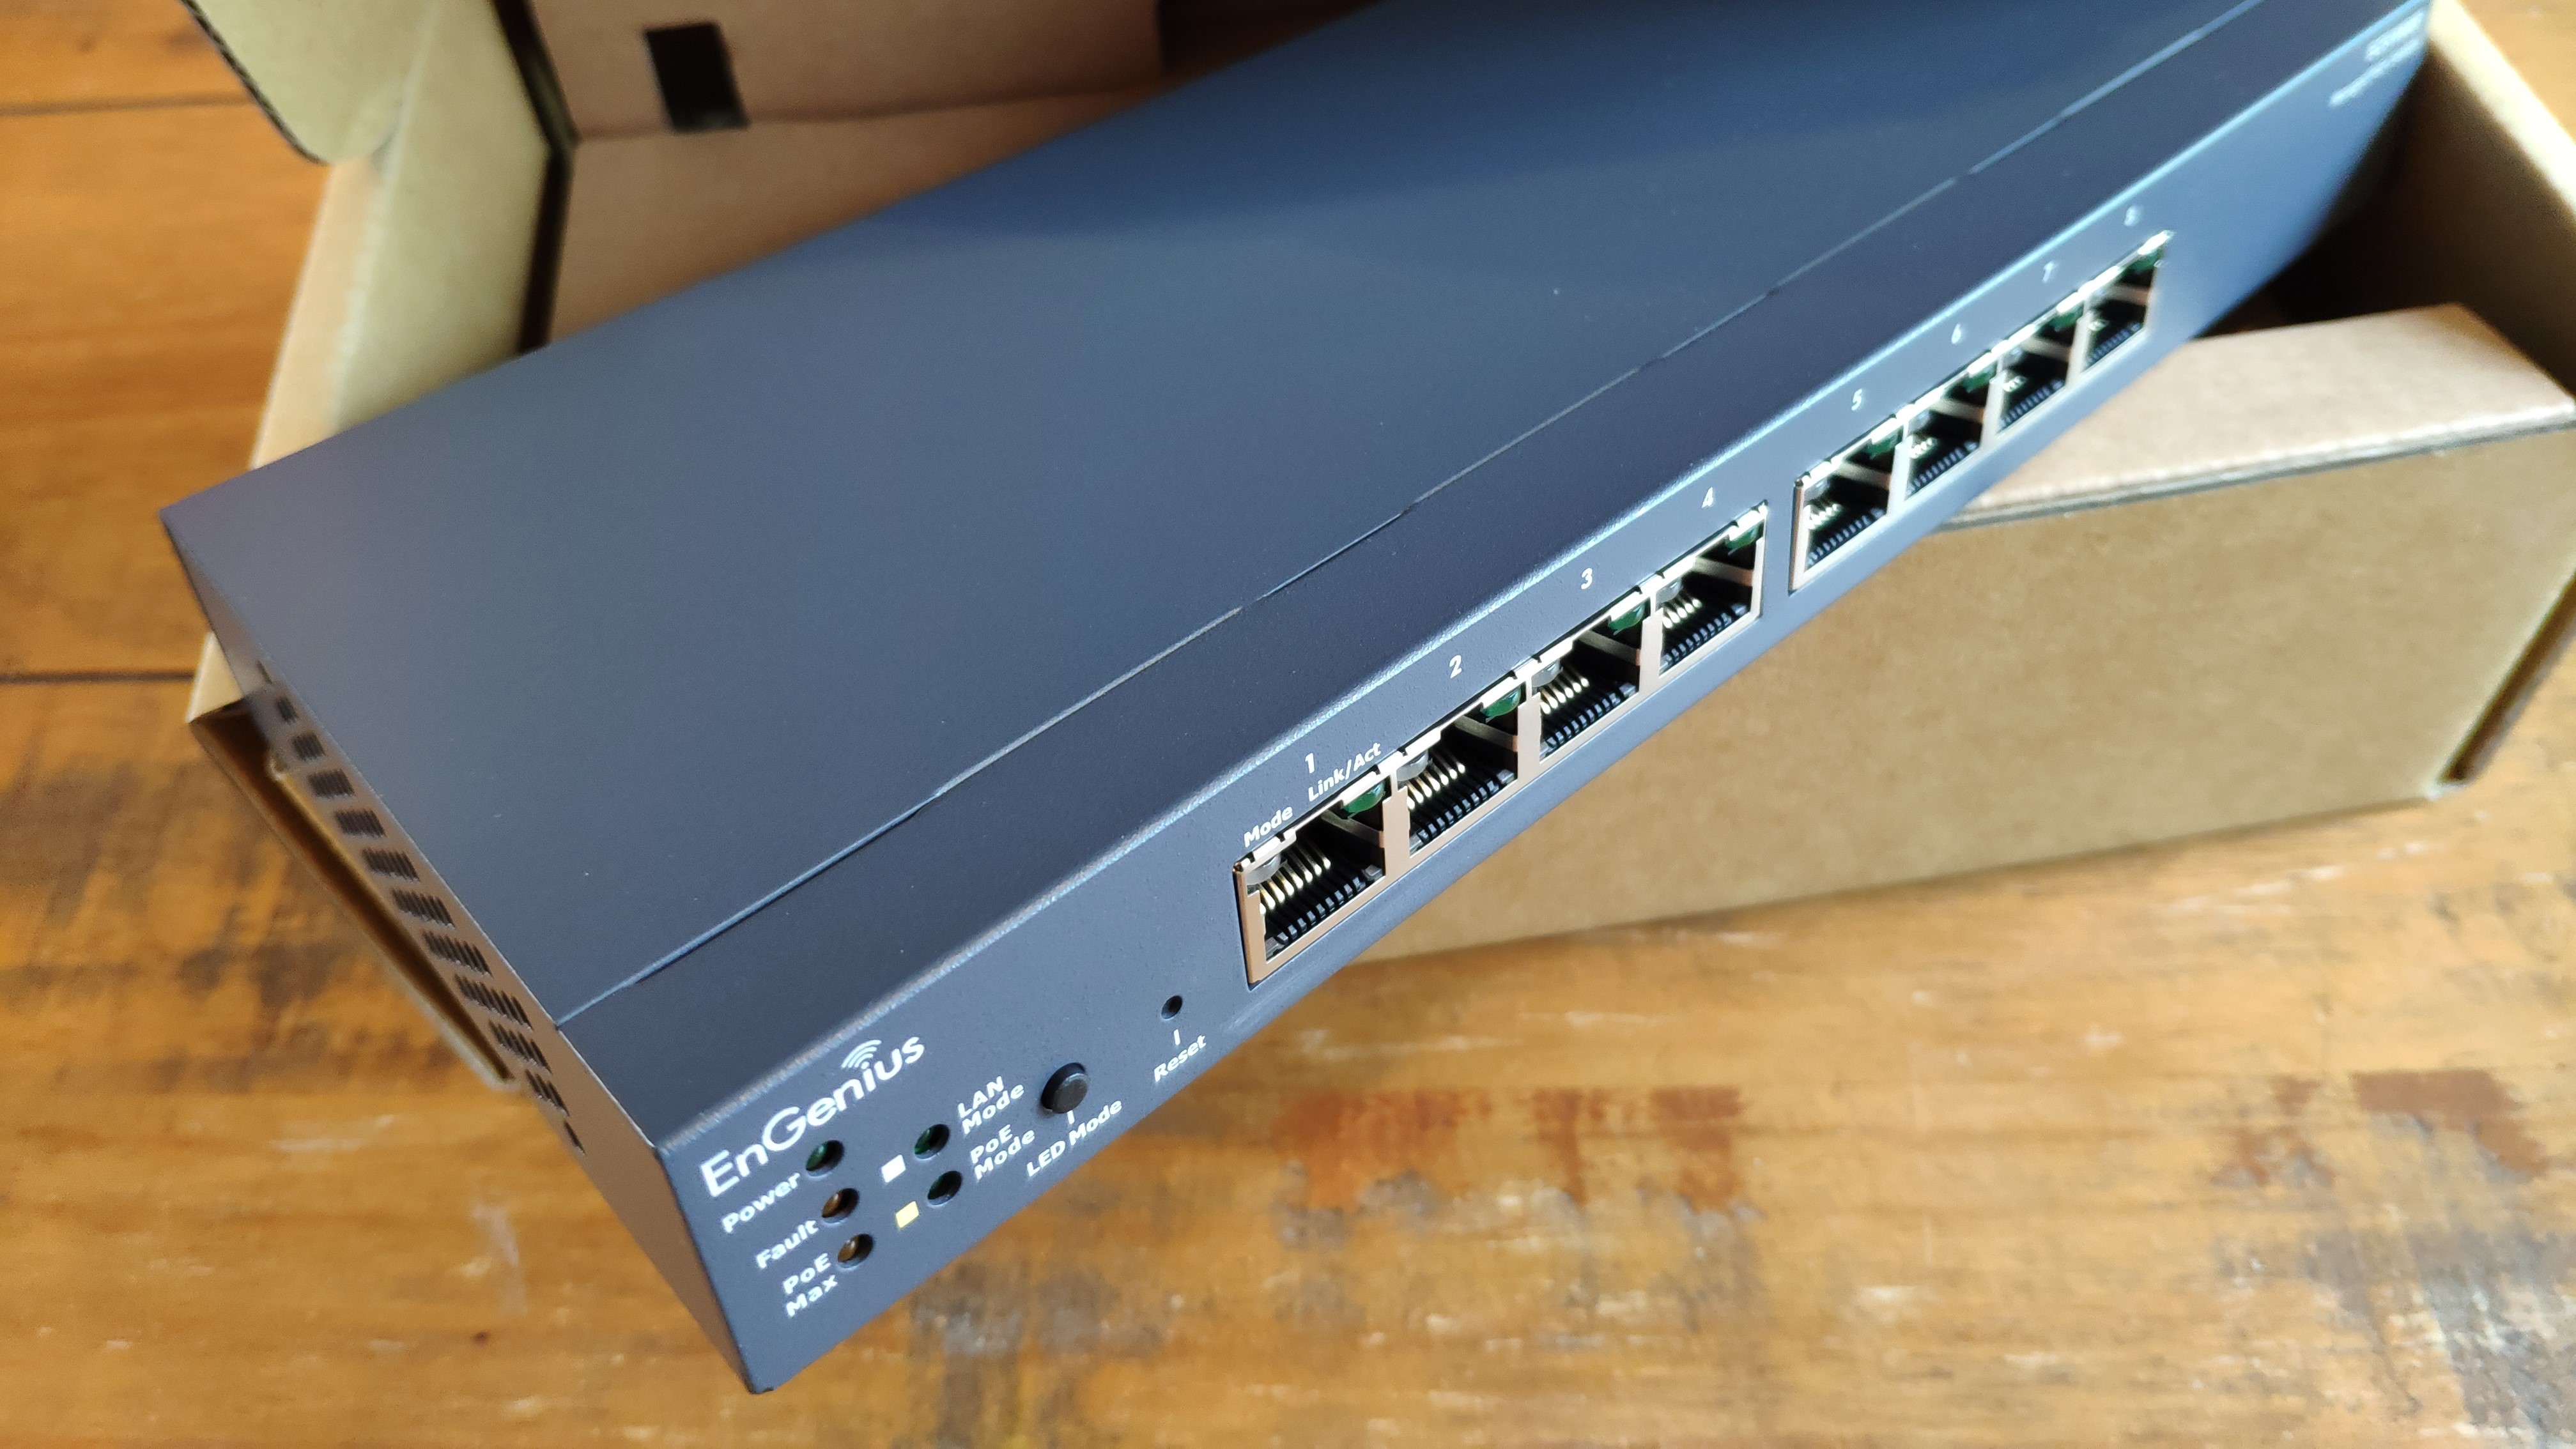
The switch
As you can see from the diagram above, we chose to include a standalone network switch in our topology. There are various reasons for doing this. Firstly, you can expand the number of LAN ports for devices that connect directly to the web via Ethernet. Secondly, you are able to deliver PoE (power of Ethernet) to more devices, and finally, you will be able to monitor and update the device in the cloud.
There are a host of other reasons for going with a standalone switch, such as support for Spanning tree protocol (STP), which detects network loops and blocks redundant paths, but these were our primary factors.
- We've also rounded up the best network switches

Access points
For our set-up, we used the EnGenius ECW220. The ECW220 is at the top end of what home users might consider (with the ECW120, priced at £133 offering most of its features), but its combined 1600Mbps throughput and WiFi-6 support were too hard to overlook.
For our testing, we introduced three access points into our network. The first was connected via Ethernet to our switch, and would be our main AP (access point). And having set up a cloud account at EnGenius' website, adding new devices to our network was simply a matter of scanning a QR code on the back of each device (this has to be done using the mobile Cloud To-Go app, which is available for both Android and iOS).
- These are the best Wireless Access Points on the market

Managing your network
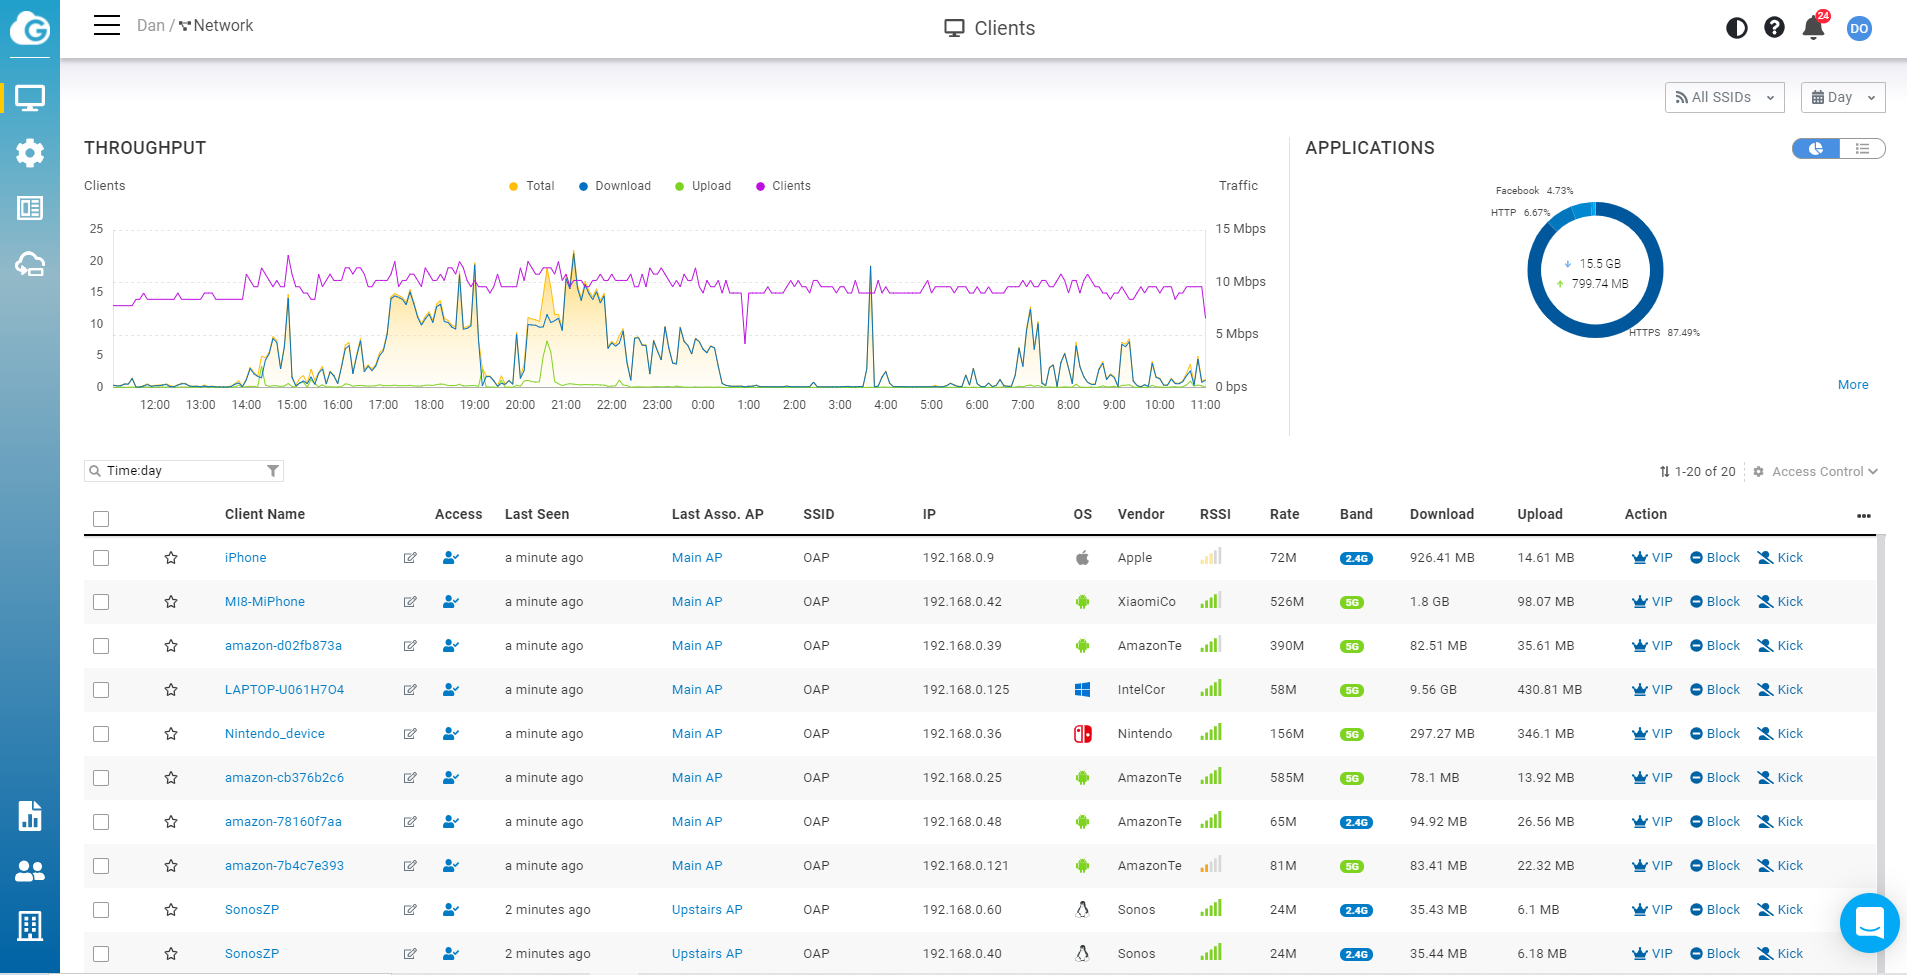
Now we get to one of the primary reasons for upgrading your network: control. With more and more devices connecting to your network, it can be nigh on impossible to keep track of them all. But thanks to the ability to manage devices in the cloud, an online dashboard enables you to take full control of your network. This means you can easily identify and manage specific devices (kicking or banning them), and you can even set specific rules by device, such as limiting the amount of bandwidth that they can use on your network.

Beyond this, you can also see which applications are using the most bandwidth (such as Spotify, YouTube etc.), and you can also identify peak traffic periods, and set rules accordingly. And if you have specific devices that require bandwidth at certain times, such as video conferencing on work machines, you can set them as a VIP, which means they will always get the required bandwidth allocation, and never fall foul of screen freezes and glitching audio ever again.
- Here's our list of the best network monitoring tools
The results
Prior to installing new hardware, we achieved a maximum download speed of 140Mbps via 5 GHz Wi-Fi, and 65 Mbps via 2.4 GHz Wi-Fi. To extend this connection, we used a standard booster plug, which saw connection speeds drop to a pedestrian 12 Mbps download speed. However, after installing our mesh network our average speed was consistently over 200 Mbps, and we had no dead zones on our property (the same speeds were achieved in our garden office, as well as indoors).
We did have to experiment a little with device placement, but once we had all our access points connected, the results spoke for themselves. Not only did our mesh network installation increase our download speeds by 30%, but it also provided us with new levels of control and maintenance.
- We've also highlighted the best wireless router
from TechRadar - All the latest technology news https://ift.tt/3vARIS2

